Repurposing and reusing old furniture is one of my favorite things to do. Old pieces often hold so much character, it’s sad to see them just go to waste. Throwing a coat of paint on them is a great and often easy fix. However, sometimes restoring them to their natural beauty or restaining them a different shade is the desired look.

I found this beauty at my local ReStore for (be prepared to be jealous) $75. I thought it was a CRAZY deal and was very thankful to find it but it wasn’t the color I was looking for. Light wood just isn’t my thing.
So I painted the bottom white and refinished the top following these 5 steps:

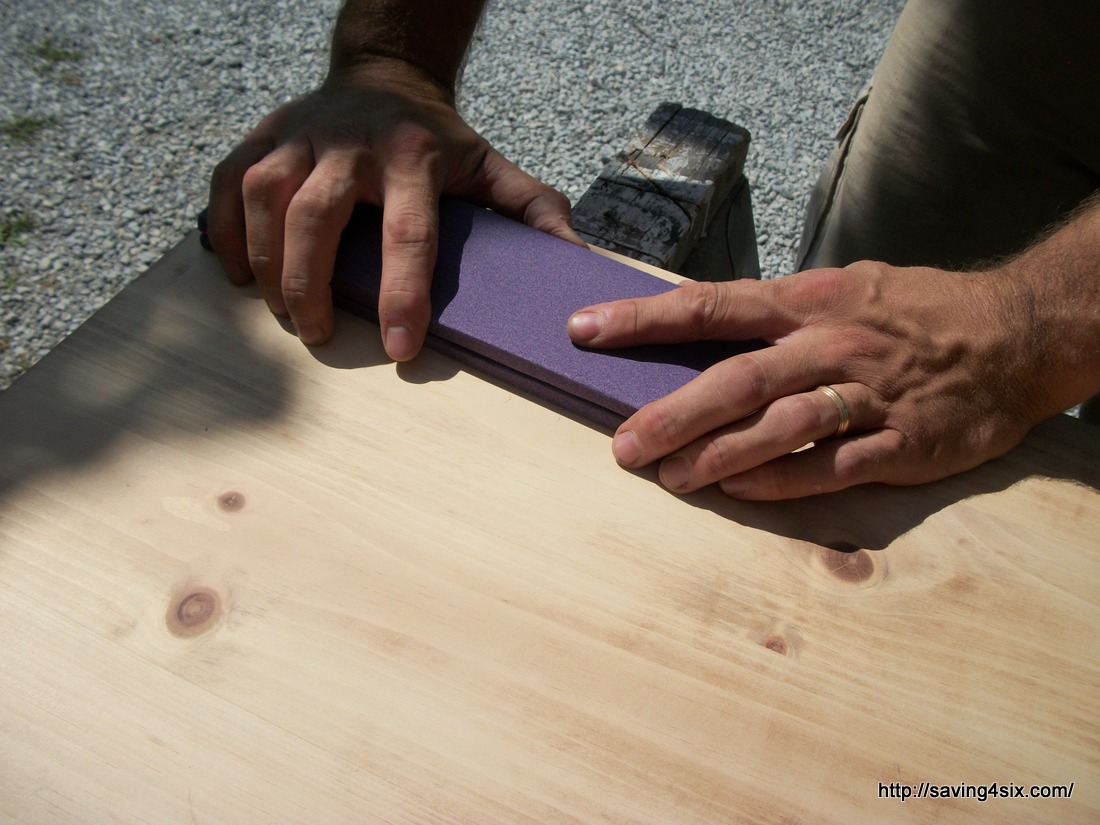
1. Sand off or strip the current stain or paint. My choice has always been to sand. So, I use a little palm sander and sand off all the previous finish. The varnish that was on here before kept gumming up my sand paper so I used a technique called stripping, to literally scrape off the excess varnish.
Then I went back over it, sanding it by hand to make sure it was clear of any previous finishes.
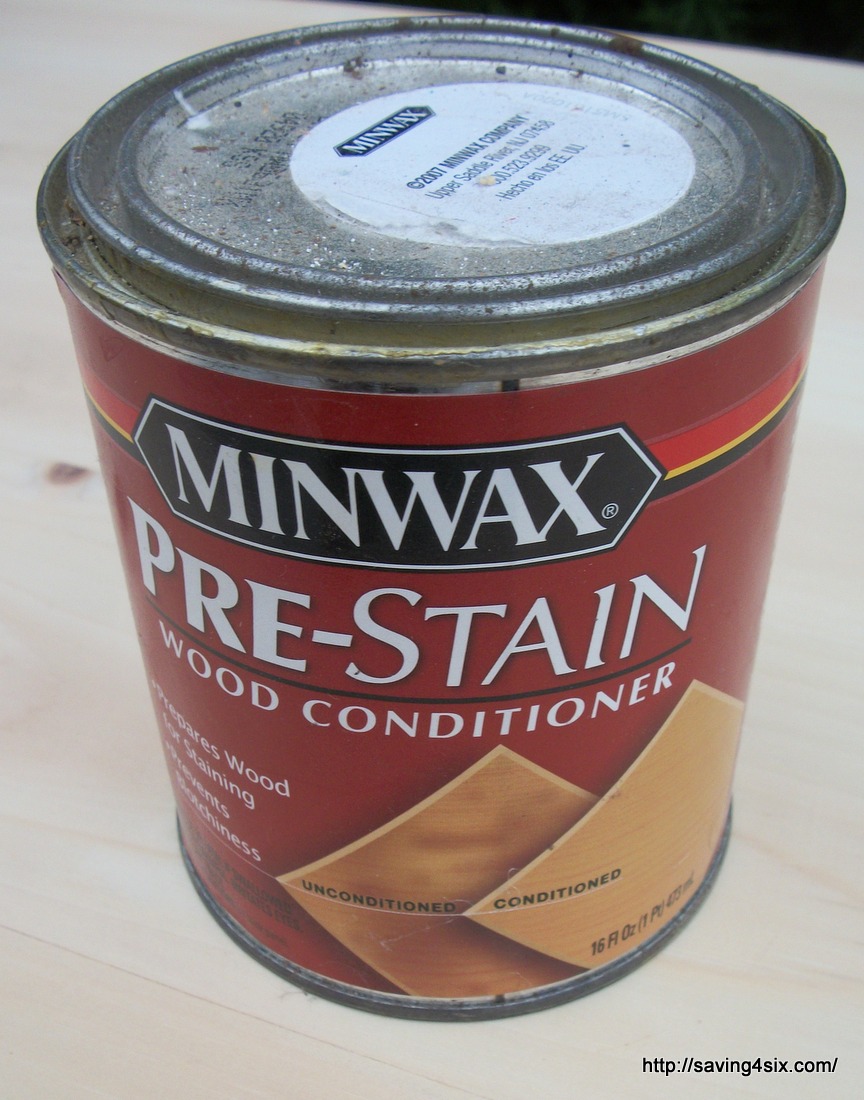
2. Prepare the wood for stain. When you have bare wood, it is best to apply a wood conditioner. This will prepare the wood to accept the stain more evenly. So, wipe off any dust from sanding and apply the wood conditioner with a rag.
3. Prepare stain for application. You do this by shaking the stain well. Any bubbles formed by shaking will break down when applying the stain and wiping it off.
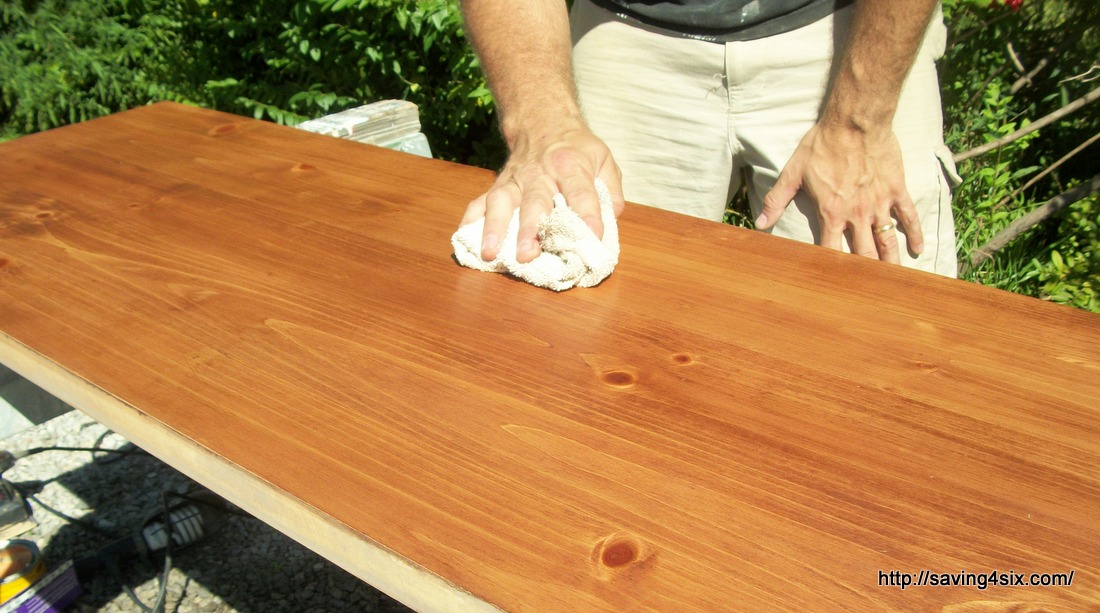
4. Properly apply stain. Applying stain is not hard but one way is certainly better… this is the way I think is best.

Apply stain with a rag…not a brush. A rag will give you better control over where you are placing the stain.
Apply the stain one small section at a time.
After generously applying the stain. Wipe it off with a clean rag.
If you want a darker look, apply more coats of stain. Adding more layers of stain will make the finish richer and darker.
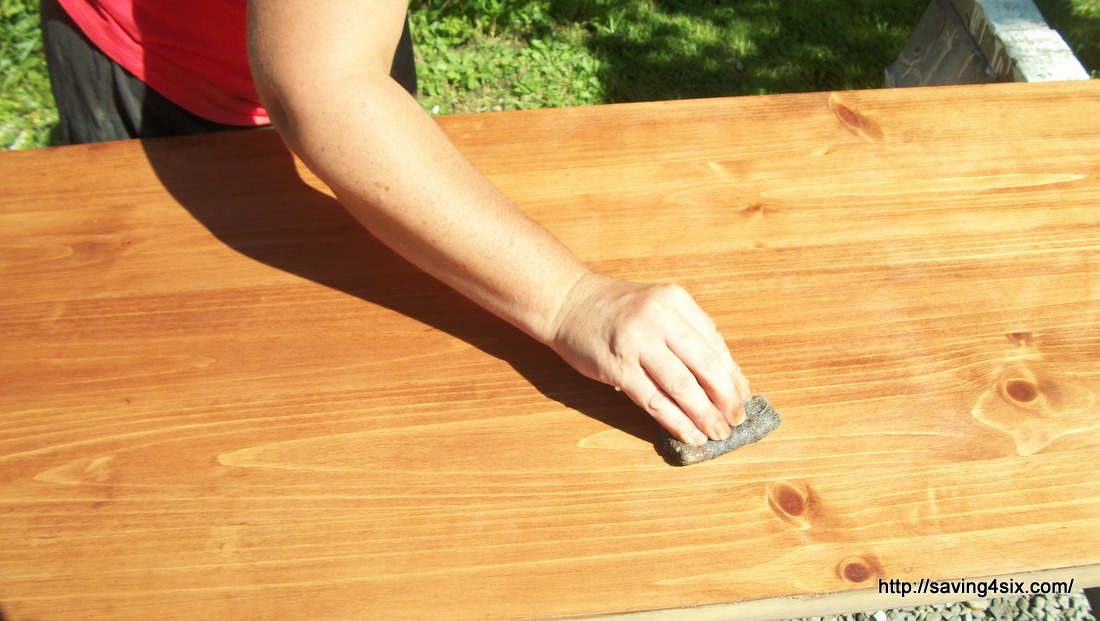
Lightly sand the piece after applying the final layer of stain. Sand it by hand using 150 grit sand paper with the grain.
6. Apply wax with Grade #0000 steel wool and buff, buff, buff. This makes it nice and shiny and super durable!!

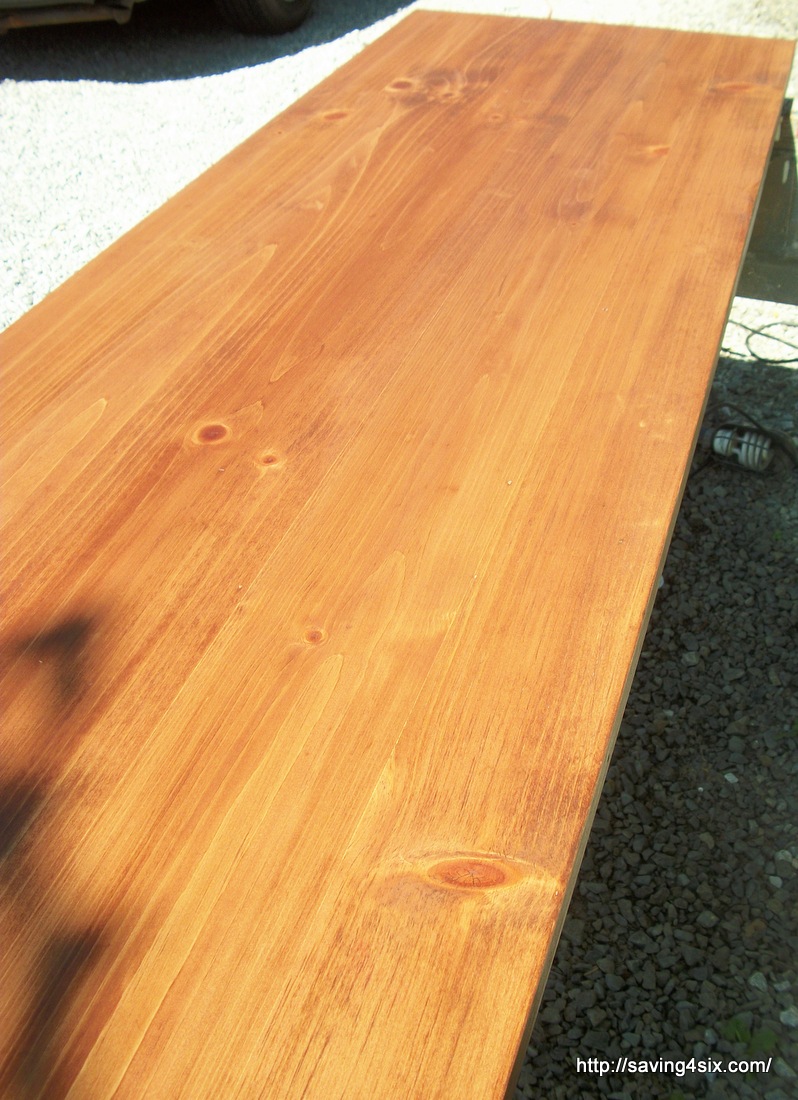
The end result is a beautiful “new” table top that is just the way I like it. It is also very durable and will last a long time.

If you’d like to see some other projects that we have used this method on check out these posts:
Fourth Generation Dresser Makeover


You did a great job on this piece. I love how rich the color looks now!
Tami
pretty! Sometimes it is so much nicer to get back to the original beauty of a piece!
This is a nice looking table for sure. It looks like a lot of work, but well worth it for the end result.
I love that color and how natural the whole piece looks. Amazing job and well worth the time and energy.
Looks amazing. I had no idea about the steel wool process. Passing that along!
This looks great! Thanks for the tips!
Found you via Pinterest. I’m busy reading Everything! 🙂 Thanks.
Just wanted to suggest you try Citristrip in your more detailed work. Frankly, use it all over and you probably won’t need to sand. Leave it on overnight or while you’re at work and paint (through stain, too) comes off in sheets. It pops out of detail, or a toothpick can wiggle it out.
Your work is too beautiful and you’ve got enough going on that you don’t have to work yourself into a sweat nor sand off wood. It’s quicker and believe it or not, almost fun.
BTW. I love the color of the stain you used. Can you tell which it was?
Thank you so much for stopping by and “reading everything” 🙂 Thanks for the advice about the Citristrip…I’ll check it out. Sanding is certainly NOT my most favorite thing to do!
The stain that I used on the desk is Minwax Red Chestnut 232.
I’m LOVING my new desk and use it all the time. I love that it is not only practical but beautiful as well!!