Like I shared with you last week when I revealed our staircase makeover, our house is officially 100 years old this year, 2014. We’ve done a lot of work in the 20 years we’ve lived here. But, we have grown to love this old house, as we have turned it into a home.
This post was originally published in 2011, so I’ve updated it to show the things that have changed in our kitchen since then.
Our kitchen is definitely the most used room in our house. When we bought the house, the fact that it was so small wasn’t really an issue. It was just my Better Half and me, and so the small space was fine.

This is the kitchen shortly after we moved in 20 years ago. At this point, we had updated the countertop and added knobs to the cabinet doors. We also installed the dishwasher. I can’t seem to locate pictures from before these changes.

This is a better picture of our pink countertop 🙂 Here we had upgraded to new Kraftmaid cabinets. We live near the factory that makes them and at one point they offered the scratch and dent or returned cabinets to the community for a fraction of the cost. We paid less than $500 for all new cabinets.
Since our family quickly grew from two to six, space became an issue and we began looking for ways to make our home appear bigger and give us more space. We started taking out walls…sounds simple…not so much. We took out the wall between our living room and dining room first and saw that it was very doable. So, we decided to try the wall between our dining room and kitchen.


This is demolition day. Our walls were plaster so we were prepared for a big mess. We really had no idea how bad it was going to be!!
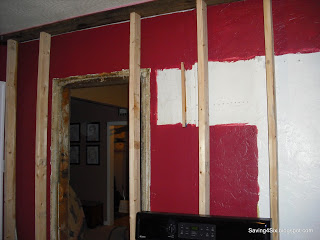

This is from the kitchen looking into the dining room. This wall is a load-bearing wall so we had to replace the wall with a beam for support. We built a temporary support wall until we could get the beam in place.

These pictures are not just really bad pictures, it is the dust from the plaster. It was EVERYWHERE!!
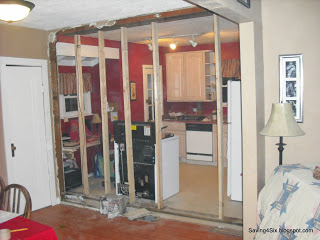

Here, the beam is in place and that mess is cleaned. The rest of the demolition and 3 months of chaos was well underway!!

We wanted a bigger door and needed to move it toward the dining room to accommodate the new kitchen layout. The refrigerator is being moved to the right of the door.


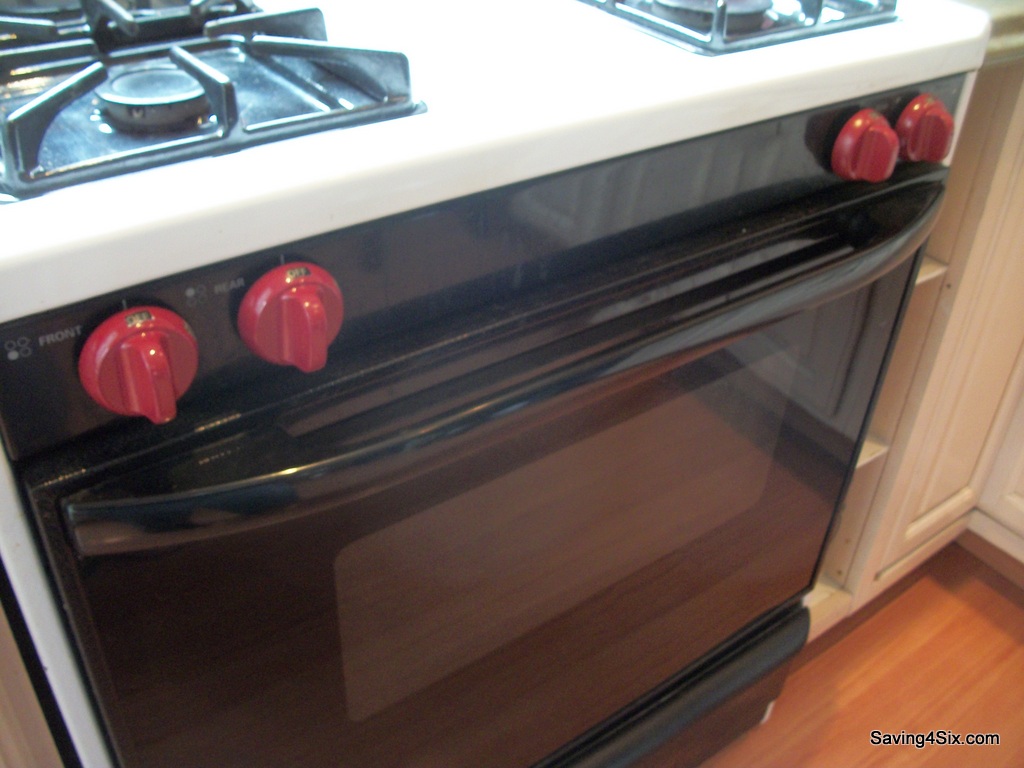
This is the placement for the refrigerator and the stove. The stove is now where the sink used to be. I can’t begin to tell you how many times I have poured water on the stove…trying to find the SINK!
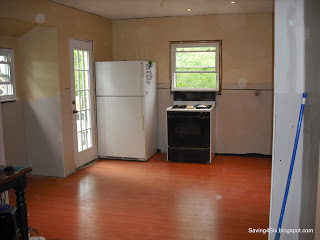
We laid new laminate flooring, hung drywall, and installed recessed lighting…which I LOVE!


We reused our old cabinets but repositioned them for a more practical layout. (I’m hoping to paint them and add new hardware later this year)


Repurposing parts from an old pantry, we neatly hid our trash in this DIY rolling, under-the-counter trash can.

While putting cabinets in their new place we ended up with about a 5-inch gap between the stove and nearest cabinet so My Better Half made some little shelves out of plywood. I found these jars at a discount store and I store my flour and sugars in them.

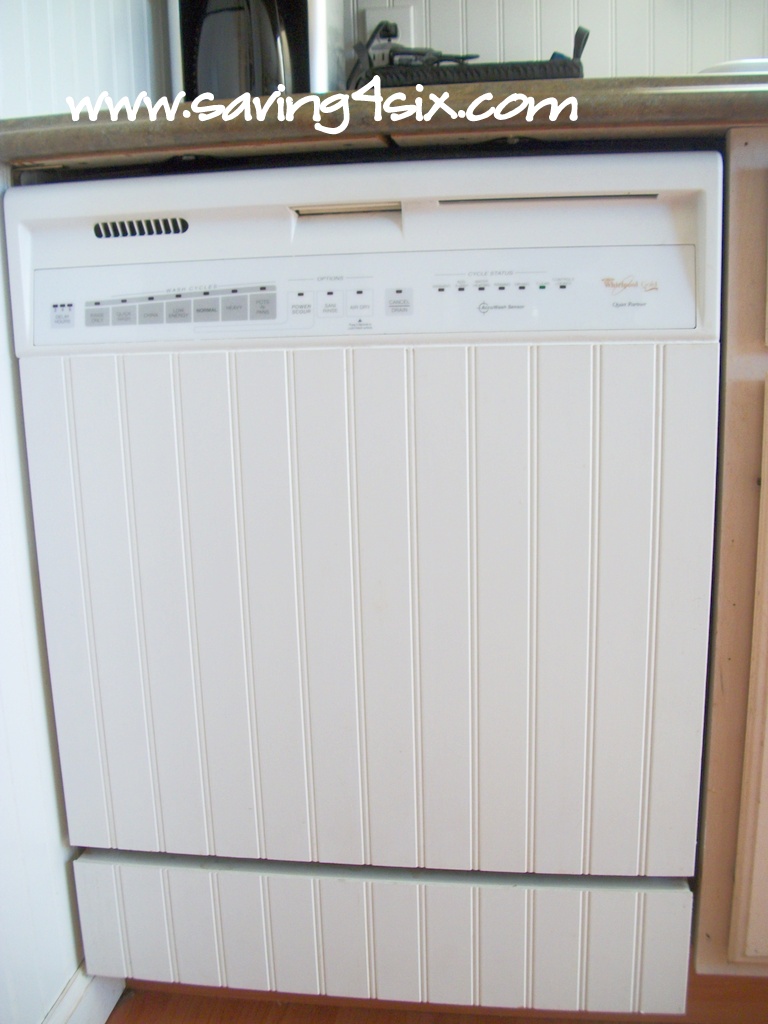
We installed beadboard on the lower half of the kitchen walls and I LOVE IT!! It looks so clean, classy, and country.

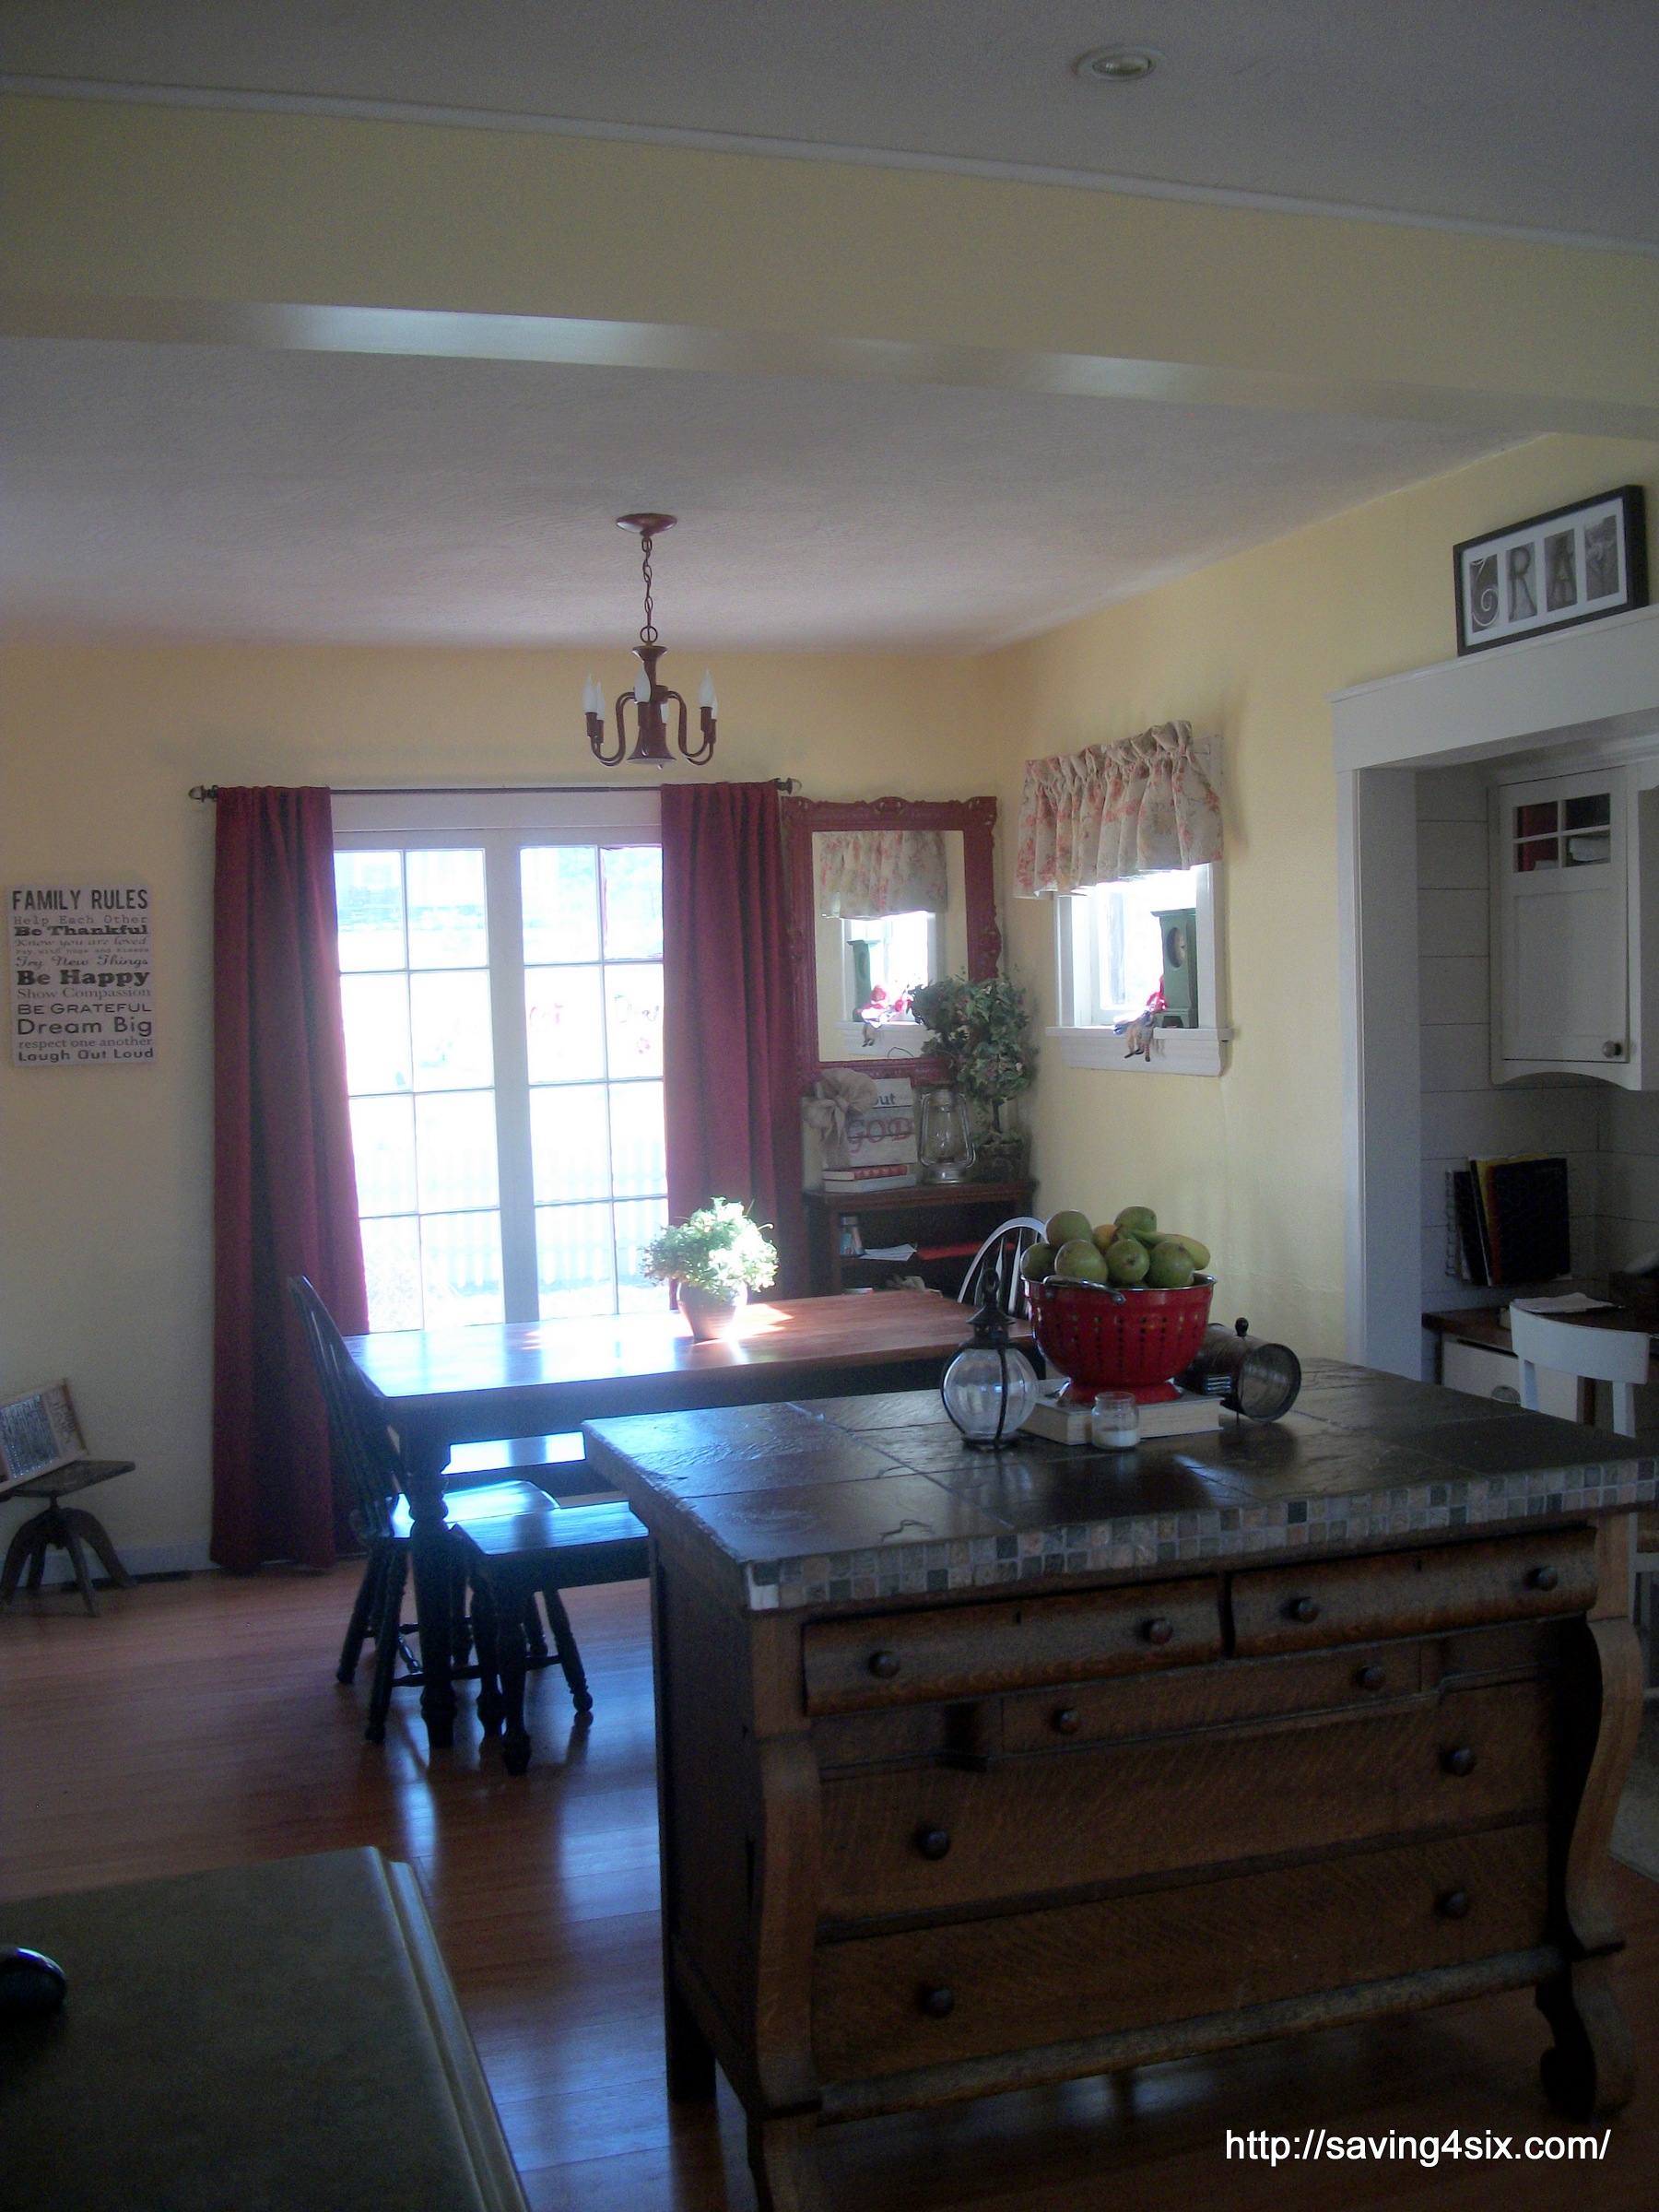
The island was a factory, mass-produced piece. The top is made of 12 slate tiles which I hand-picked and laid myself. It was super easy and I am thrilled with the look.

We did all the work ourselves. From drywall to plumbing and electrical. It was honestly one of the hardest times in our marriage because we were so exhausted, tired of the mess, and ready to be finished. I never dreamed of the work it would be. I do love the results and am thankful we survived. I’m not sure that we will ever take on such a big project again, but we sure learned a lot.


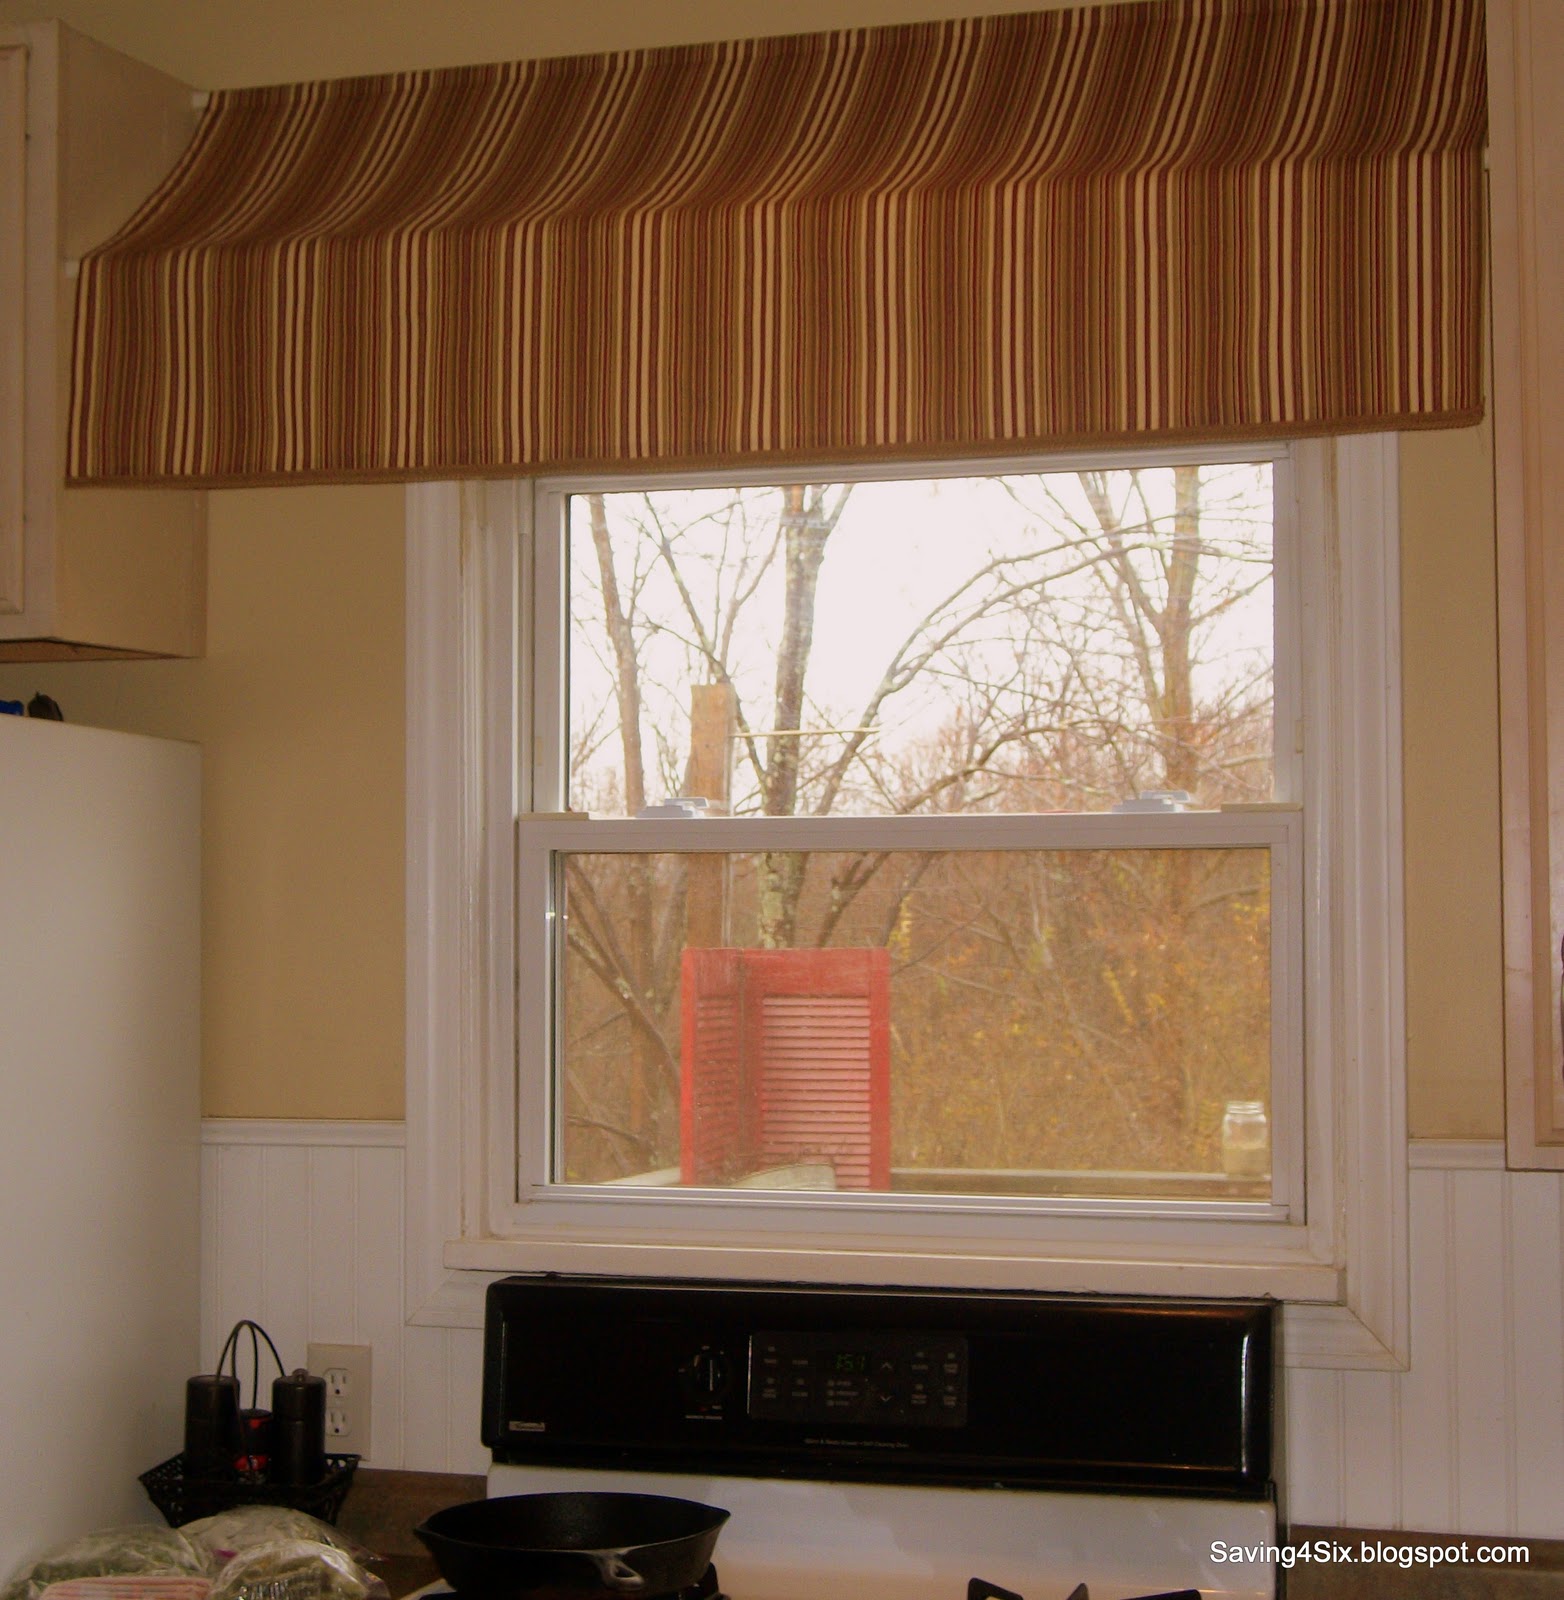
Within the past couple of years, we have updated the kitchen with the Coffee Corner

I love having everything right at my fingertips and I’m thrilled with the coffee corner sign.


Blessings,

i too have a small kitchen. and i struggle with where to keep everything. I would love for you to show the insides of your cabinets. Where do you keep everything? towels, dishes, cups, food? how do you organize everything into a smaller kitchen?
I love seeing transformations!! Your kitchen is beautiful!!
Stopping by from Sew Can Do!
Wow Carrie what a transformation! I love your new buffet turned island – adds so much to your new kitchen. I’m visiting from the Funday Monday Party 🙂
Wow, I really like the creative touches….the coffee corner sign, the bead board dishwasher, the buffet island. Your 100 year old kitchen has tons of lovely charm.
What a great remodel! That buffet/island is stunning!
Love your kitchen, you did a great job. I love the red knobs on the cook stove. Please let me know where you got them. Thanks
Love what you did with your kitchen. I especially like the island, removing that wall really opened things up. I don’t know if I would have had that much patience or vision but it looks lovely! Visiting via the Inspiration board creativity link party. Glad I did, this was fun for me to check out 🙂